Fall wreaths are perfect to display this time of year. Once the weather starts getting cooler and the colors of fall start to come out – that is when we all love beautiful fall wreaths. One of the easiest ways to bring autumn to your front porch and to your guests is with a welcoming burlap wreath. Multi-colored burlap wreaths are different than the basic natural colored burlap wreath because they use 2 different colors or patterns of burlap ribbon. In this tutorial and video you will learn how to make a multi-colored chevron printed burlap wreath.
Fall Wreaths – How to Make Multi-Colored Burlap Wreath (Video)
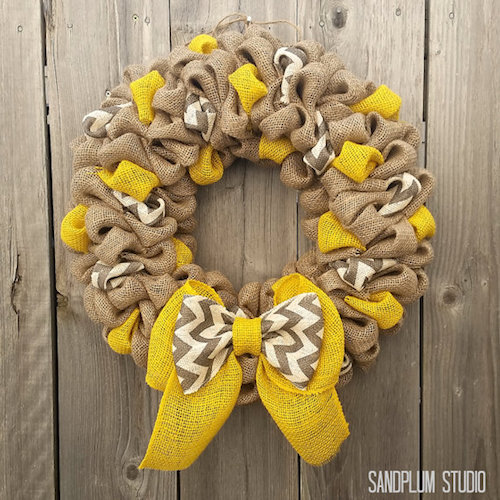
Image via: Etsy – Sandplum Studio… – Multi-colored burlap ribbon wreath
You can make a similar wreath like this, or purchase this one from Sand Plum Studio on Etsy.

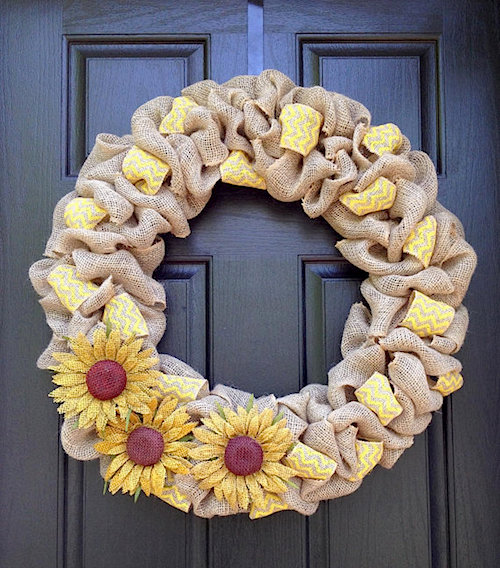
Image via: Etsy – Kristin’s Burlap Design… – Multi-colored Burlap Wreath
Multi-Colored Burlap Wreath Video
Burlap Wreath Materials
- 2 Different Colored rolls of 6″ wide Burlap Jute Ribbon
* (30 feet long) : (Ideas for Types of Ribbon Burlap with White Lace Ribbon
, Burlap with Red Lace Ribbon
, Chevron Print Burlap Ribbon
)
- *Optional – Substitute Black Mesh Ribbon
for one of the Jute Ribbons
- Scissors
- 12 inch Wire Wreath Frame
Form: (Ideas for Types of Wire Frames – Heart Wire Wreath Frame
, Square Wire Wreath Frame
, Star Wire Wreath Frame
)
- Wired Ribbon, 2-1/2-Inch Natural Color
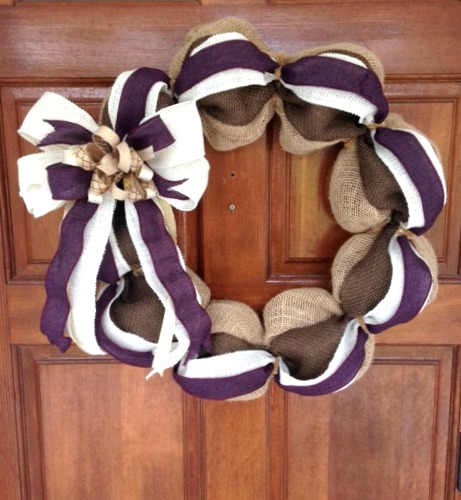
Image via: Etsy – Chaotic Curwhibbles… – Burlap Wreath Ideas
Burlap Wreath Directions
Watch video above for detailed directions for intertwining more than one type of ribbon.
1. Use one end of the burlap ribbon to make a knot around the wire wreath. You can also secure the burlap with a piece of string if you prefer.
2. Push the burlap into one of the sections of the form. Be sure to twist it so that the loop is sideways (this ensures that the wire wreath form is covered).
3. Continue making loops but make sure that the next “bubble” in the wreath is next to the one you just did. This helps hold the previous loop in place. Keep the loops even in size as you push the burlap through the form.
4. Continue making loops until the wreath is as full as you want. You can make all your “bubbles” the same size or vary the size for a more asymmetrical finished burlap wreath.
5. Cut off the burlap if you have extra.
6. Make another knot to complete the wreath or tuck the end into the bubbles.
7. Use pipe cleaners to keep the burlap in place on the back of the wreath.
For more tips on securing flowers and embellishments take a look at Burlap Wreath Tutorial for Beginners.


Would love to have you share this on the Pleasures of the NW’s DIY party!
http://www.pleasuresofthenw.com/do-it-yourself-linky-party-17/
Oh my goodness…I love all of the wreaths! I finally have the red door of my dreams, so I am definitely going to have decorative wreaths for each season/holiday starting this fall. Thank you for the tutorial… I am headed to the craft store this week… can’t wait!
Cheers,
Lisa {http://www.dreamsandcaffeine.com}
I love burlap wreaths. Thanks for sharing with us all. #welcomehomewednesday
I love the look of burlap and these are absolutely beautiful!
Kate | TheOrganizedDream.com
Burlap wreaths are so pretty.
What a gorgeous fall wreath…I can’t believe it’s that time of year already!!!
HI!! I wanted to let you know that your post has been chosen as a Feature for the Welcome Home Wednesdays Link Party!! Stop by today and see your post linked up! Don’t forget to grab your Featured Button as well!! 🙂 ~Lisa~
Thanks so much Lisa!!